How to Identify Surgical Instruments Names with Pictures?
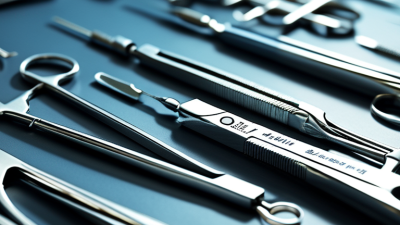
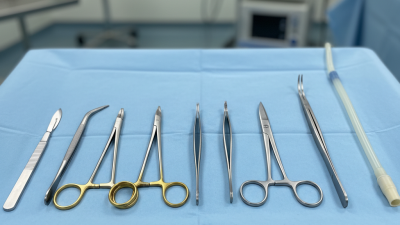
Identifying surgical instruments becomes easier when names are connected to clear, accurate images. This guide explains how to recognize surgical instruments names with pictures through shape, function, and distinctive details. A ring handle, ratchet lock, or narrow working tip can reveal more than appearance alone.
Real clinical experience shows that similar instruments often create confusion. A Kelly hemostatic forceps may resemble a Crile forceps, while different scissors can share nearly identical handles. Small differences matter. Jaw serrations, hinge placement, blade shape, and shaft length should be checked carefully. Names can confuse.
Reliable identification should not depend on one photograph. Compare labeled images with manufacturer catalogs, hospital instrument lists, and reputable surgical education resources. Instrument names may also vary between countries, specialties, and healthcare facilities. A textbook term might differ from the name used in an operating room.
This article provides a practical visual method for building confidence without encouraging guesswork. It explains how to observe instruments from several angles, match features with accepted terminology, and record uncertain findings for expert review. Mistakes happen. Even experienced staff can misidentify instruments when images are blurred, incomplete, or poorly labeled. Careful verification supports safer communication, accurate inventory management, and effective sterile processing. The examples focus on general recognition and professional learning, not on replacing formal training or institutional procedures. Details matter, especially when an instrument appears familiar but has a different tip, lock, or cutting edge.
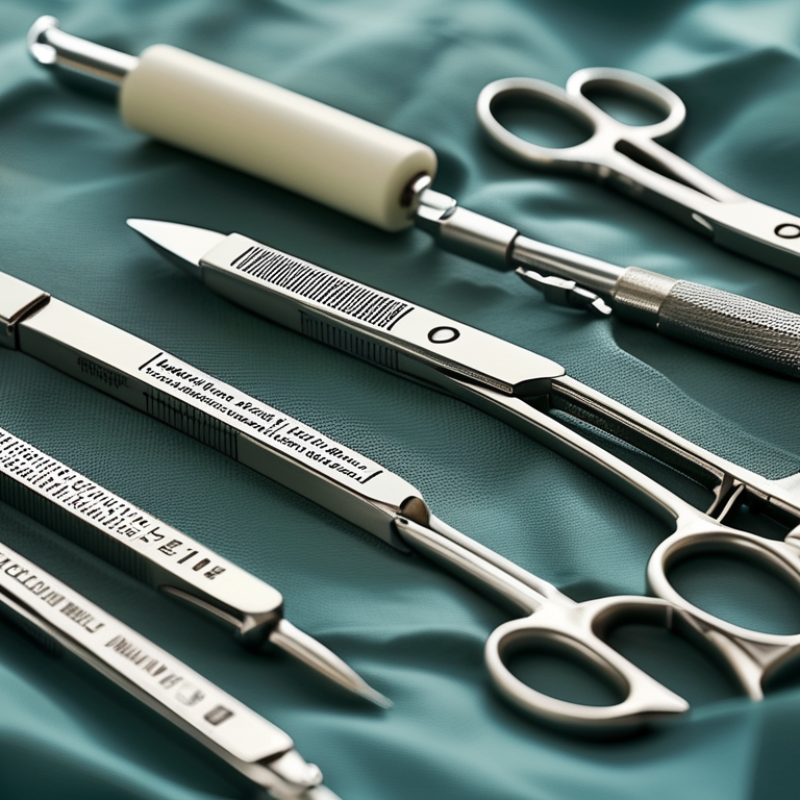
What Surgical Instruments Are and How They Are Classified
Surgical instruments are carefully designed tools used to cut, grasp, clamp, retract, examine, or close tissue. Their shapes often reveal their purpose. A scalpel has a sharp blade, while forceps usually have two handles joined at one end. Scissors may be straight or curved, depending on the required cutting angle. Needle holders include short, strong jaws for controlling a surgical needle.
Classification makes identification more reliable than memorizing names. Instruments can be grouped by function: cutting and dissecting, grasping and holding, clamping and occluding, retracting, suctioning, probing, and suturing. They may also be classified by design, such as hinged, ratcheted, serrated, or non-locking instruments. During training, comparing a real instrument with a clear picture helps learners notice jaw patterns, finger rings, handle length, and tip shape.
Look closely.
A picture is useful, but it can mislead. Lighting may hide fine serrations, and similar forceps can serve different procedures. The instrument’s label, package information, and approved surgical reference should be checked together. Material also matters because stainless steel, titanium, and specialty alloys may have different appearances and handling properties. Never identify a tool from its color alone. I have seen learners confuse a clamp with a needle holder because both had rings and a locking mechanism. That mistake shows why function, tip design, and clinical context must be considered together. Instrument names can vary between hospitals, which makes careful verification necessary.
How to Recognize Instrument Shapes, Parts, and Functional Features
Identifying surgical instruments from pictures becomes easier when you study structure, not only outline. Start with the working end: blades, jaws, hooks, cups, or a blunt tip. Then inspect the shaft, hinge, rings, and locking mechanism. A curved profile may suggest tissue access, but curvature alone is not proof. Look closely at serrations. Fine teeth can support grasping, while a smooth surface may protect delicate tissue. The image angle can mislead you. Rotate the reference photo mentally, and compare both sides when possible.
Parts often reveal function more reliably than overall shape. Ring handles and a ratchet commonly indicate a clamping instrument, while spring handles may support repeated cutting or grasping. A narrow, angled shaft can improve visibility in a deep field. Fenestrated jaws may hold tissue with less crushing pressure. However, similar designs can serve different procedures. I have found that guessing from one visual detail creates avoidable errors. Confirm the tip pattern, joint construction, scale, and intended use in an approved instrument catalog or training manual. Never rely on a picture alone for clinical preparation.
Tips: Use a labeled photo beside the real instrument. Trace the path from handle to tip. Note jaw teeth, edge sharpness, and hinge position. Ask an experienced clinician when uncertainty remains. Clean lighting helps. So does patience. Record your reasoning, including what seems inconsistent. That imperfect note may expose a mistaken identification before the instrument reaches the tray.
How to Match Surgical Instruments with Names Using Pictures
Matching surgical instruments with names using pictures requires more than recognizing a familiar silhouette. Start with a clear image taken from the side and above. Include the handle, hinge, jaws, tip, and ratchet. A ruler beside the instrument helps separate similar sizes. Look closely.
For each image, compare the tip shape first. A curved clamp, needle holder, and tissue forceps may share a ring handle, but their jaws work differently. Check serrations, fenestrations, locking teeth, and surface texture. Then compare the instrument with a validated surgical catalog or facility inventory record. Do not guess. In practice, I have found that glare, blood staining, and worn markings can create confident but incorrect matches. A second reviewer should verify uncertain results.
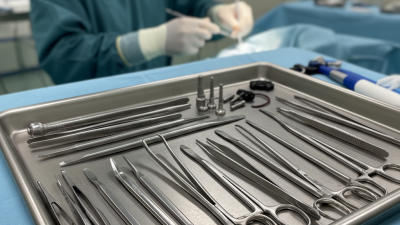
This process supports safer tray assembly and staff training. The World Health Organization has reported about 234 million major surgical procedures worldwide each year. Its Surgical Safety Checklist study also linked checklist use with lower major complications, falling from 11.0% to 7.0%. Correct instrument identification supports the same safety culture. Professional guidance from AORN emphasizes standardized processing, inspection, and documentation. However, a picture cannot confirm sterility, material grade, or functional condition. Record the proposed name, image reference, verification date, and reviewer. Keep the doubt visible. That small habit improves reliability.
How to Verify Instrument Names Across Surgical Specialties
A picture can suggest an instrument’s name, but it cannot verify it alone. In practical instrument review, examine the tip, jaw pattern, ratchet, shaft, and handle geometry. A curved hemostat may resemble a vessel clamp, yet its jaw teeth and intended tissue pressure can differ. Record the specialty, common synonym, and exact physical features. Names also change between general surgery, orthopedics, gynecology, and microsurgery.
Use three checks before accepting a label. Compare the image with a hospital instrument list, review the manufacturer-neutral instructions for use, and confirm the function with a qualified surgical or sterile-processing professional. Keep the original photograph beside the proposed name. This exposes mismatches quickly. A 2024 World Health Organization patient-safety report emphasizes that preventable harm remains a major healthcare concern, making precise identification more than a cataloging task. The WHO Safe Surgery study also found major complications falling from 11.0% to 7.0% after checklist implementation, while inpatient deaths decreased from 1.5% to 0.8%.
Do not trust visual similarity.
A reliable record should include alternate names, specialty context, size, and confidence level. For example, “angled clamp” is weak; “right-angle vascular clamp, 15 cm, fine serrated jaws” is more useful. Still, uncertainty deserves documentation. Lighting, wear, and incomplete views can distort judgment. I would flag ambiguous images for manual review rather than force a confident but incorrect name.
How to Build a Reliable Visual Reference for Instrument Identification
Identifying surgical instruments from pictures requires more than matching shapes. A reliable visual reference connects each image with the instrument’s name, function, and distinguishing features. In practice, I compare the jaw design, handle structure, ratchet pattern, and overall length. A close image of the tip often reveals more than a full instrument photograph. Lighting matters too.
My first reference guide looked professional but failed during a real identification task. Several clamps appeared almost identical. I learned to include multiple views, including side, front, and locked positions. Each entry should show measurement scale, common synonyms, and the features that separate similar instruments. Cross-check names against current surgical catalogs, training materials, and facility-approved records. Expert review improves reliability. Images alone can mislead. A photograph cannot confirm an instrument’s exact purpose or condition.
Tips: Use consistent backgrounds and labels. Mark the working end clearly. Add one comparison image beside similar instruments. Record uncertainty instead of guessing. Update the reference after feedback from experienced surgical staff. Keep original image sources and review dates. Never treat a visual match as final without checking the instrument’s physical details and approved documentation. I still find borderline cases, especially with worn jaws or altered finishes. That uncertainty belongs in the reference system, not hidden.
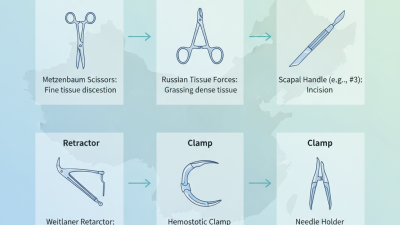
How to Identify Surgical Instrument Names with Pictures?
Representative overall lengths can help distinguish common surgical instruments in a visual reference guide. Actual dimensions may vary by pattern, intended procedure, and manufacturer.
How to use this chart: Compare the instrument’s silhouette, jaw design, handle mechanism, and approximate length together. Length should support identification, not replace visual inspection of the tip and working end.